
Guilt Free Dessert
Effortless Delight
Nutritious and Delicious
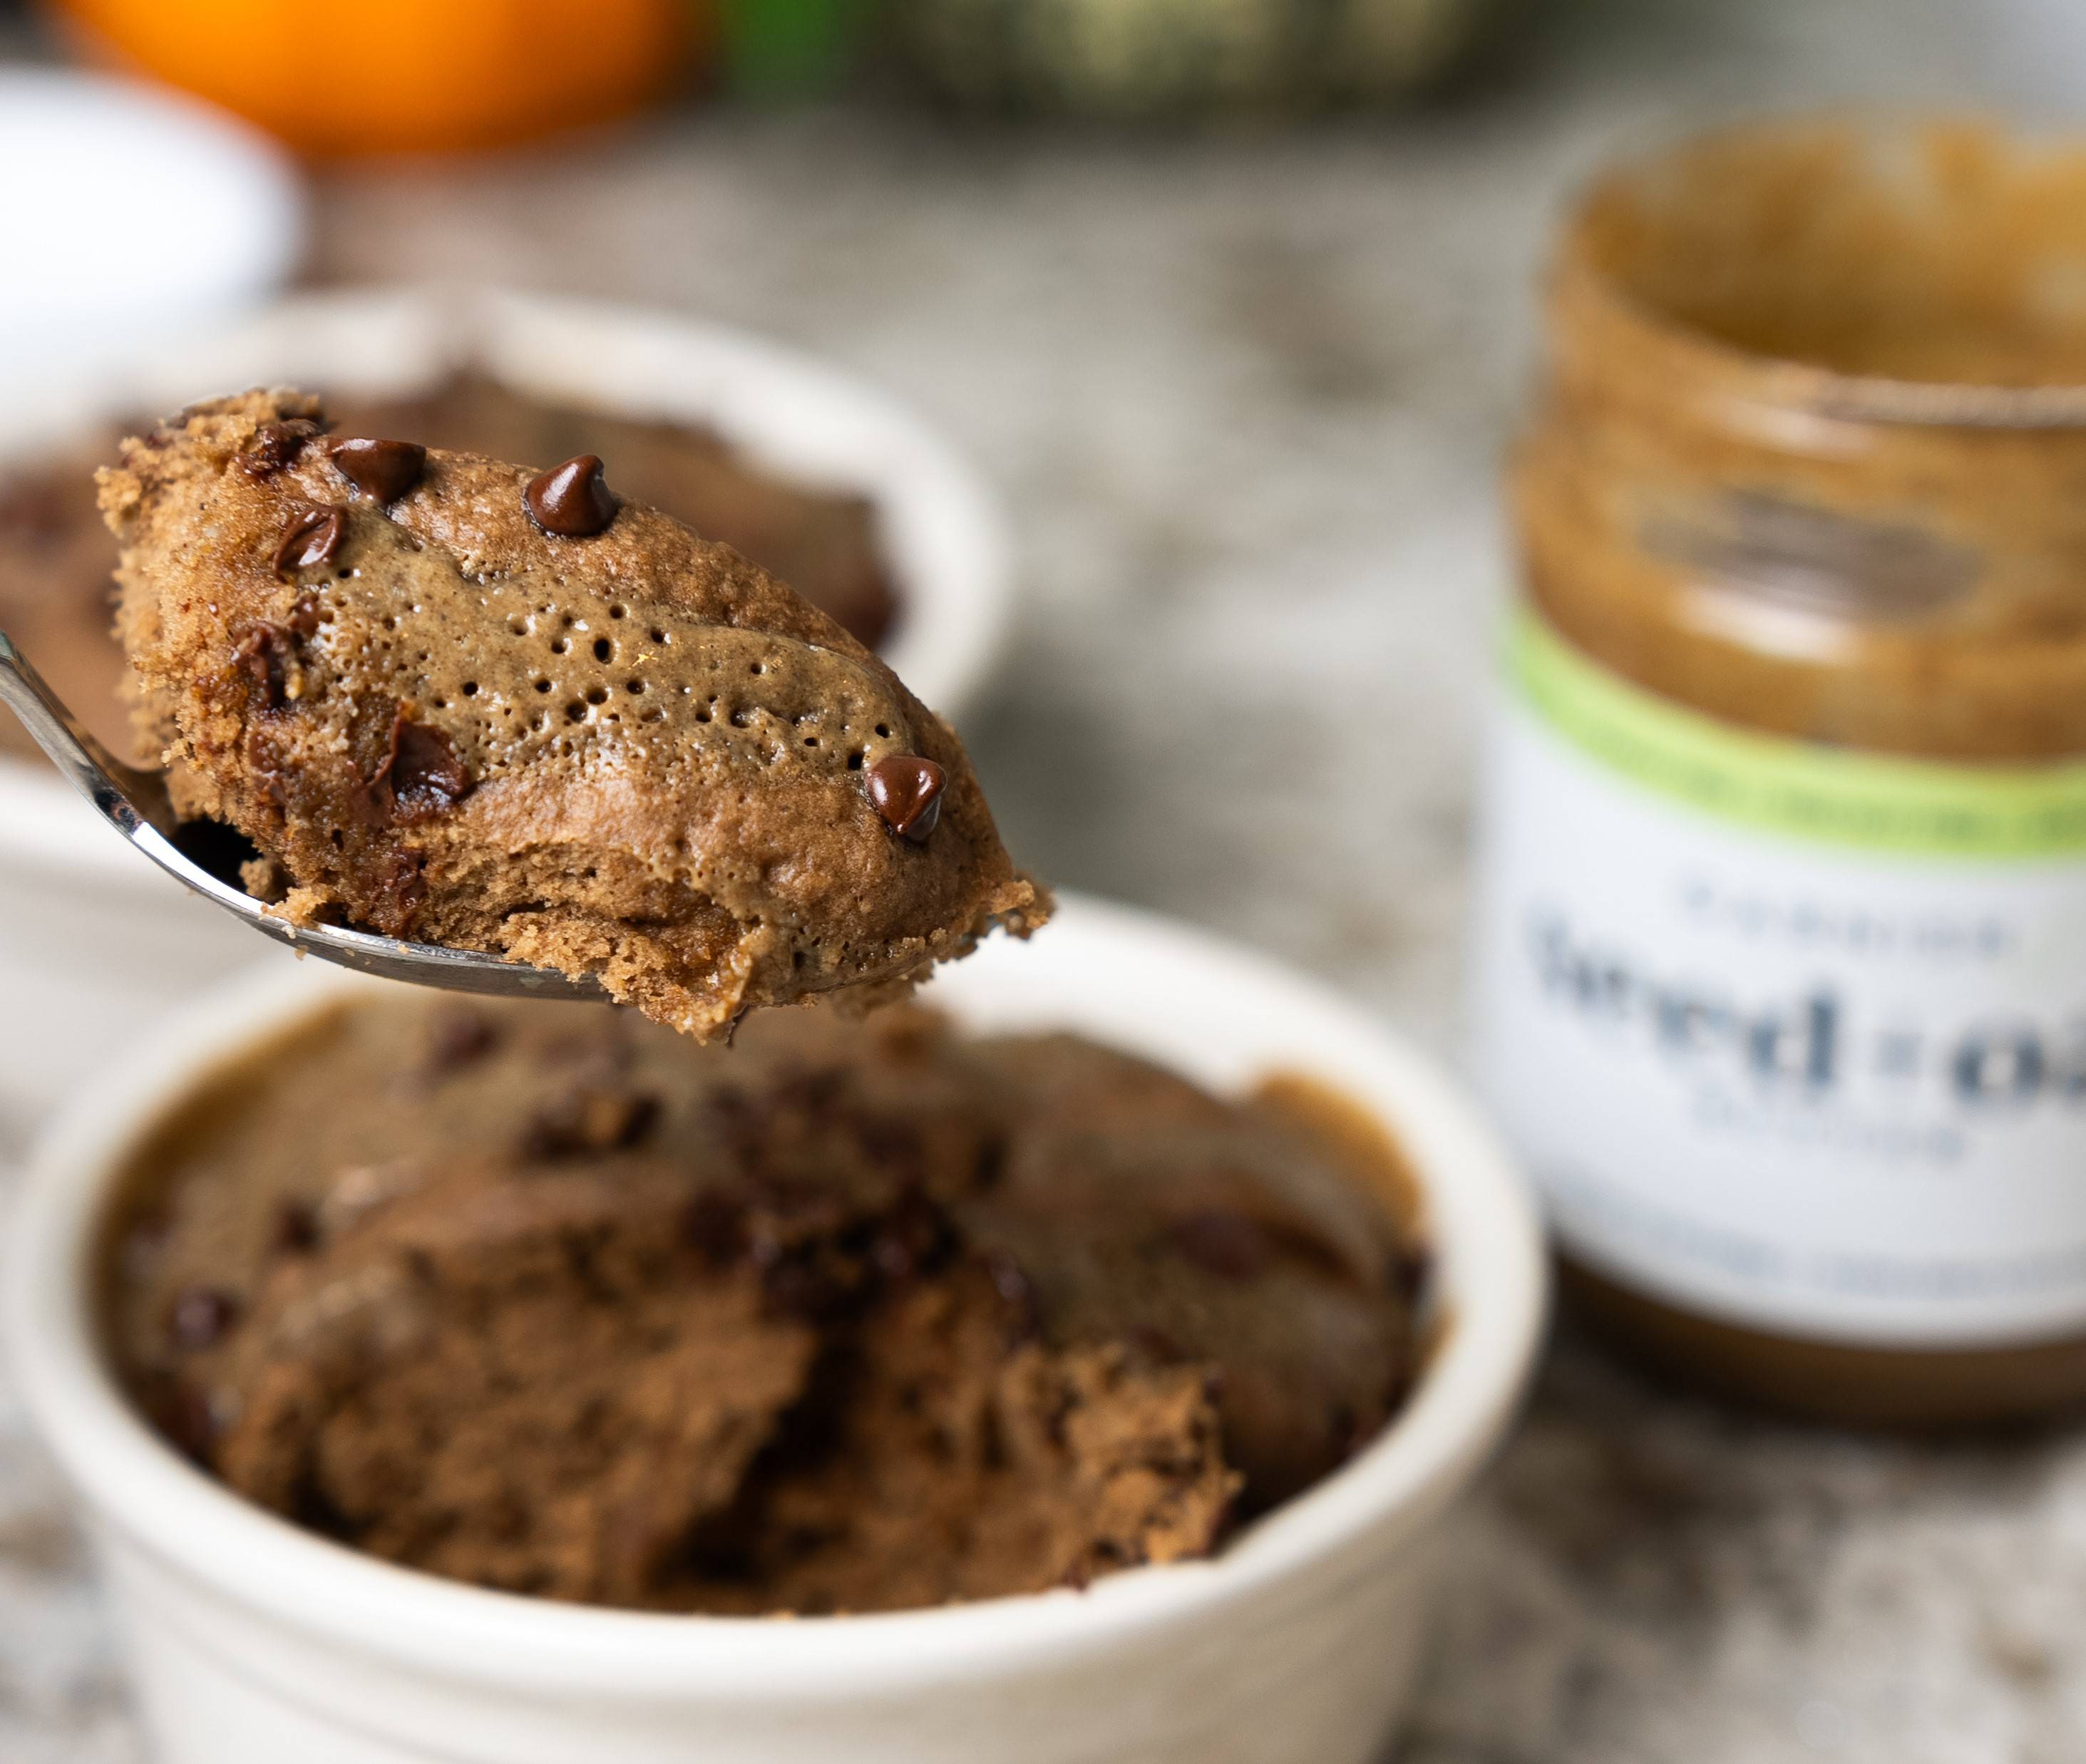
Indulge in the delightful flavors of a No-Bake Chocolate Oat Cake that's not only easy to make but also guilt-free. This wholesome treat combines the goodness of oats, a hint of cocoa, and the rich creaminess of Seed+Oat Butter, resulting in a mouthwatering dessert that will satisfy your sweet tooth. The best part? It requires minimal effort and no oven time. Perfect for a quick dessert fix or a snack that's both nutritious and delicious.
Simple, Delicious + Nutritious
Guilt Free Dessert
Satisfy your sweet cravings guilt-free with our No-Bake Chocolate Oat Cake recipe. This wholesome treat is the perfect dessert option for those who want to indulge without compromising on health. With oats, cocoa, and Seed+Oat Butter, it's a delightful, healthier choice.
Effortless Delight
Experience the joy of effortless dessert making with our No-Bake Chocolate Oat Cake. This recipe requires minimal effort and absolutely no baking. It's perfect for those times when you need a quick and satisfying treat without the hassle of oven time.
Nutritious and Delicious
Treat your taste buds to a nutritious and delicious delight with our No-Bake Chocolate Oat Cake. Packed with the goodness of oats and enriched with rich spices from our Seed+Oat Butter, this cake is a mouthwatering combination of flavor and nutrition that's sure to please.
Ingredients:
1 ripe banana, mashed
1 egg
1 tbsp cocoa or cacao powder
1 tbsp maple syrup
1 tsp baking powder
3/4 cup oat flour
2 tablespoons Seed+Oat Butter
Additional Seed+Oat Butter for drizzling
A handful of chocolate chips (optional)
Instructions:
Step 1: Mash the Banana
Begin by taking a ripe banana and mashing it in a bowl with a fork until smooth. The banana adds natural sweetness and moisture to the cake.
Step 2: Add the Egg
Crack an egg into the bowl with the mashed banana. The egg will help bind the ingredients together.
Step 3: Introduce Cocoa
Incorporate 1 tablespoon of cocoa or cacao powder into the mixture. This chocolatey goodness will provide that rich and satisfying flavor.
Step 4: Sweeten with Maple Syrup
Add a tablespoon of maple syrup to sweeten the batter. Adjust the sweetness according to your preference.
Step 5: Enhance with Baking Powder
Sprinkle in 1 teaspoon of baking powder. The baking powder will help the cake rise and become light and fluffy.
Step 6: Mix in Oat Flour
Stir in 3/4 cup of oat flour into the mixture. This adjustment provides the cake with a heartier and denser texture, making it a delightful treat.
Step 7: Incorporate Seed+Oat Butter
Add 2 tablespoons of Seed+Oat Butter to the batter. This ingredient brings a delightful nutty taste and creaminess to the cake.
Step 8: Mix Until Smooth
Mix all the ingredients together until you have a smooth, well-combined batter. Make sure there are no lumps.
Step 9: Transfer to a Ramekin
Transfer your cake batter into a microwave-safe ramekin, making sure to smooth the surface.
Step 10: Drizzle with Seed+Oat Butter
Drizzle a bit more Seed+Oat Butter on top of the batter, creating a delightful swirl. This step adds extra flavor and creaminess.
Step 11: Micro-Magic
Place the ramekin in the microwave and cook on high for approximately 1 minute. The cooking time may vary depending on your microwave, so keep a close eye. The cake is done when it has risen and set.
Step 12: Cool and Enjoy
Allow the cake to cool for a few minutes before digging in. You can also sprinkle some chocolate chips on top while it's still warm for that extra chocolatey goodness.
No Bake, No Problems
This No-Bake Chocolate Oat Cake is a perfect example of how healthy ingredients can come together to create a delicious dessert. With the natural sweetness of the banana, the richness of cocoa, and the creaminess of Seed+Oat Butter, it's a treat that's hard to resist. Enjoy it as a quick dessert or a satisfying snack without the guilt – and without having to turn on your oven.